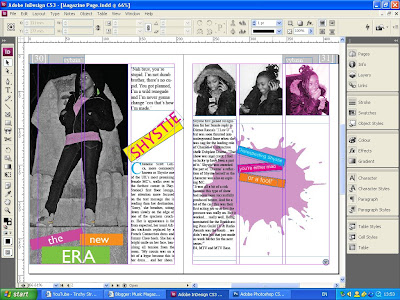
Elements Arrangement: I used the selection tool to move the different parts of my pages around. This allowed me to move images, text boxes and blocks of colour to the positions that I wanted and also allowed me to resize them.
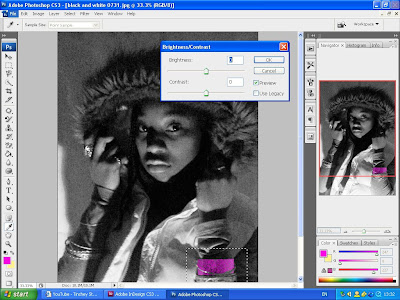
Brightness/ Contrast: this tool allowed me to select the range of shadow and highlighting that I wanted.

Grey Scale: this allowed me to choose exactly how greay I wanted the image to be
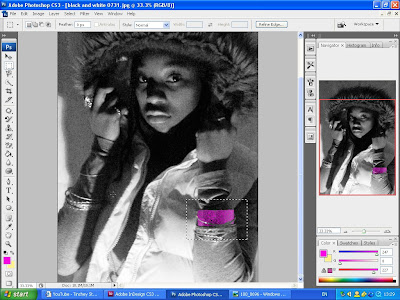
Selection: This allowed me to select everything in a particular area. For example, I only wanted to recolour one bracelet so I selected the area to make it easier to work with.

Move and Rotate:

Arrange: bringing something to the front means that it appears in front of other elements. For example, I wanted the block of colour to be infront of the image and the text to be infront of the coloured block.
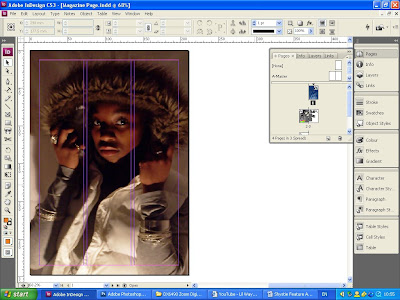
Page Layout:
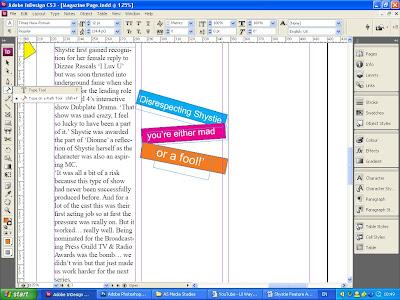
Text Tool: In InDesign I could have either chosen to use the Text Tool or the Type on Path Tool. I chose to use the Text Tool and then rotate it to the angle I required using the rotate tool. I also used the rotate tool to move the colour bars that I used as backing for the text quotes.

Text Tool: In InDesign I could have either chosen to use the Text Tool or the Type on Path Tool. I chose to use the Text Tool and then rotate it to the angle I required using the rotate tool. I also used the rotate tool to move the colour bars that I used as backing for the text quotes.

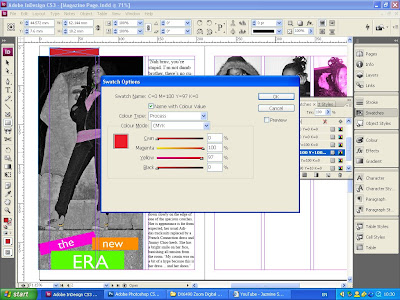
Colour Change: this was done using the colour balance tool. By selecting varying densities of different hues, I was able to create a colour customed to the image I was using. For exaple, in this case I used 100% magenta, 0% cyan, 0% black and 97% yellow to create a fushia tone for the last of the three images on the right hand page.


No comments:
Post a Comment